Introduction
A quick overview of Logogrind and what you will find in the user manual.
Welcome to Logogrind — the easiest way to create and own a professional logo and branding kit in just a few minutes. Follow these three simple steps to generate, customize, and purchase your first logo.
Step 1: Go Through the Logo Wizard
Kick things off by entering your brand name, tagline (optional), and selecting your style preferences such as colors, fonts, and icon themes.
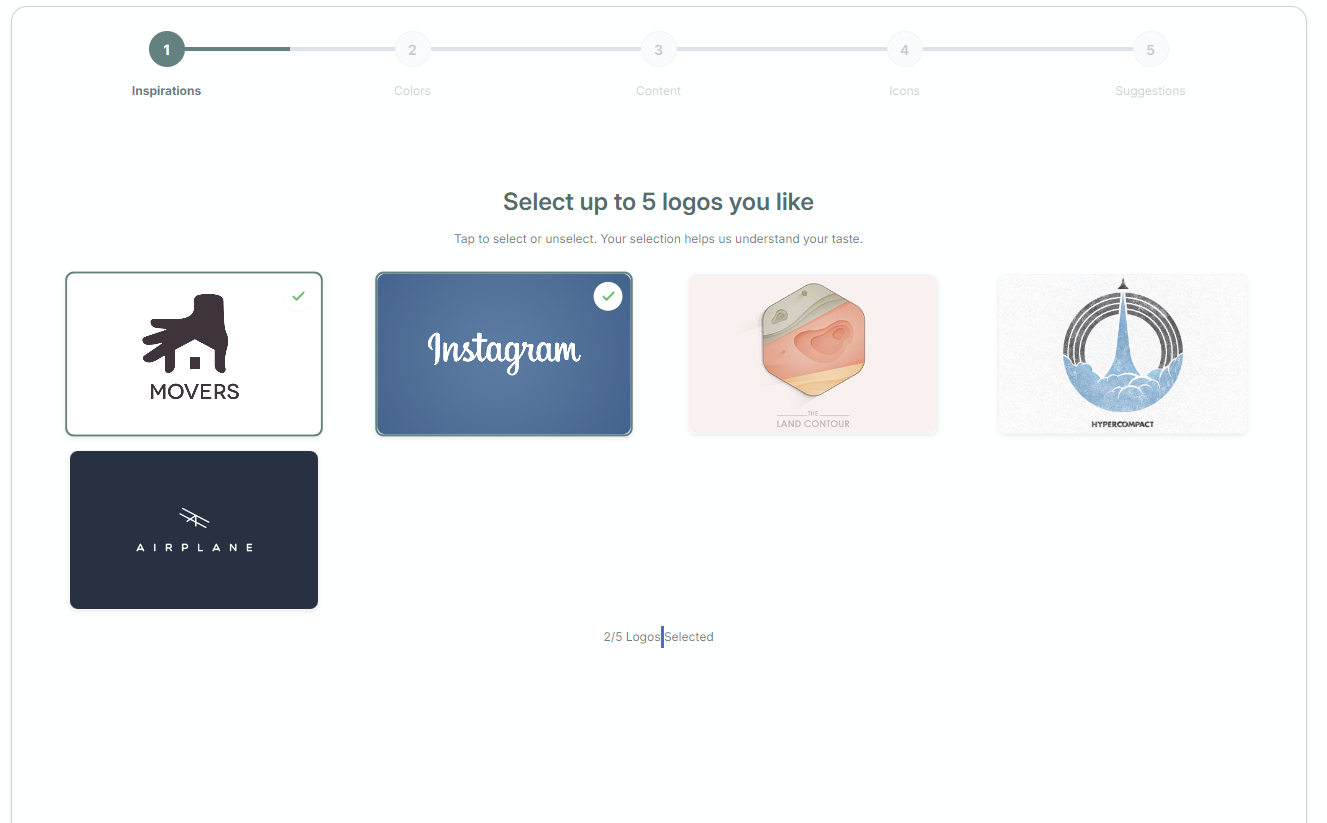
The wizard instantly generates logo concepts tailored to your brand. Pick a favorite to move to the next step.
Step 2: Customize in the Logo Editor
Refine your selected logo using our powerful yet easy-to-use logo editor. Adjust fonts, colors, spacing, icons, and layout to make the design your own.
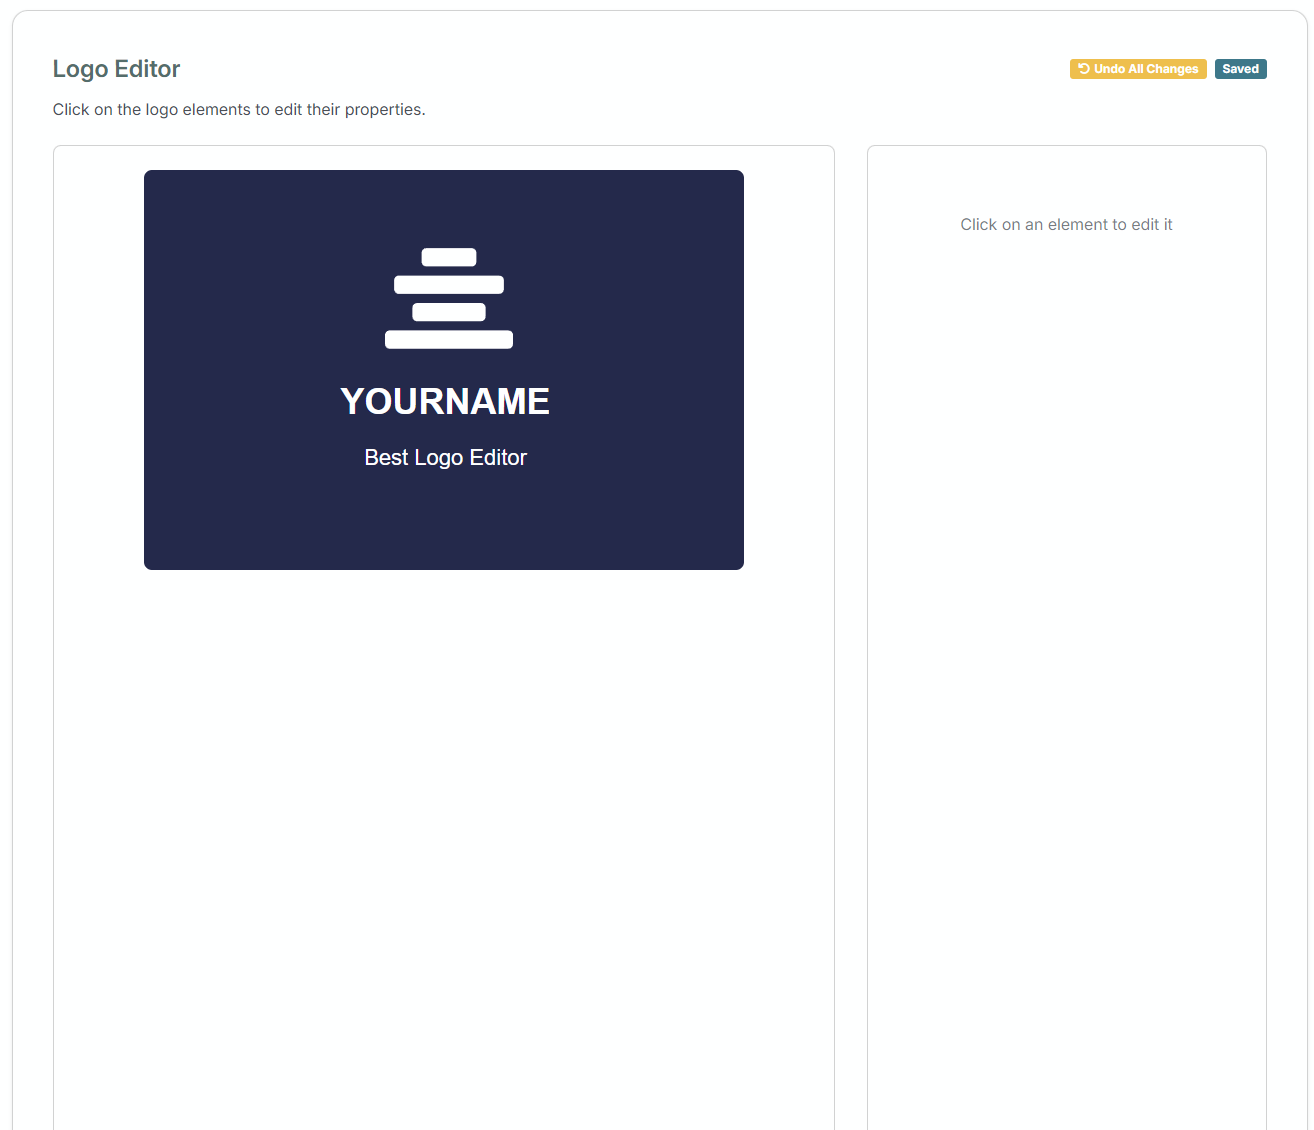
You can preview how your logo looks on mockups like business cards, websites, and more.
Step 3: Purchase and Download Your Logo
Once you’re happy with your design, proceed to checkout.
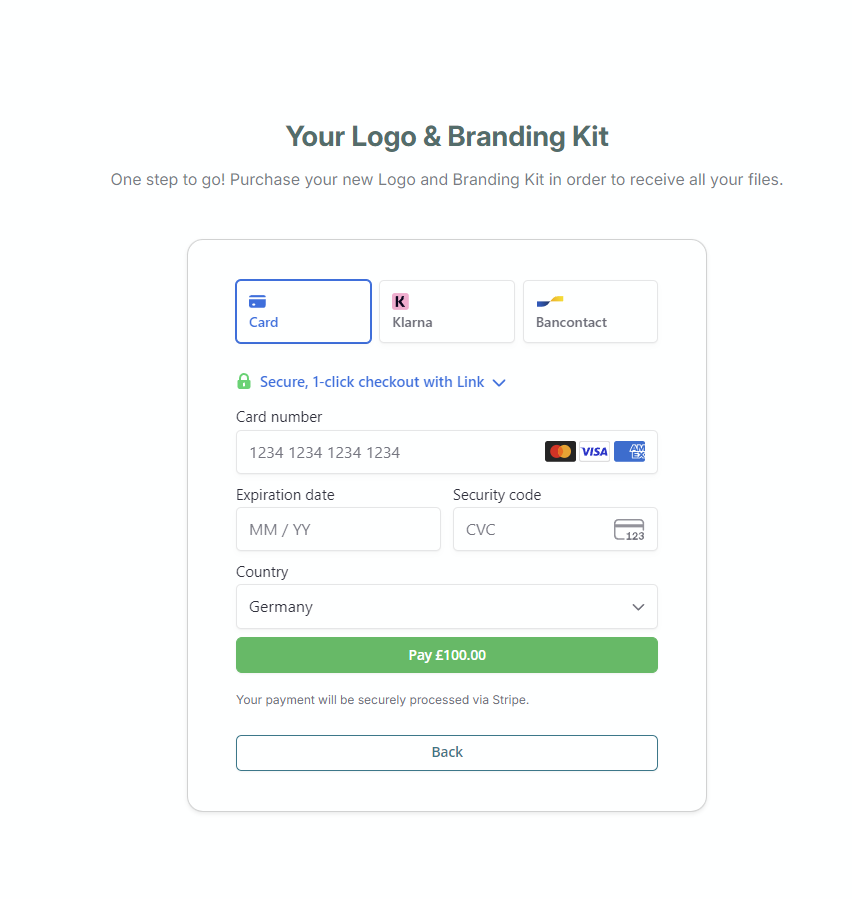
Choose your branding kit (which includes high-res files, color palettes, and typography guides), complete your payment, and instantly download your assets.
You’re Done
You now have a professional logo and brand kit ready to use across your website, social media, merchandise, and more.